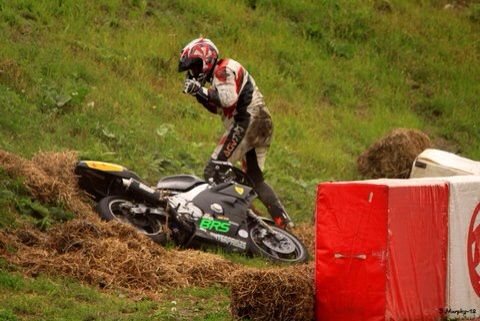
I was doing soooo good!

Oops, so much for last lap heroics… Thanks again Francois for your efforts to keep us safe!
So, time for a rebuild (again). I’ve got a list of mods I want to do this winter, and seeing as though I’ve got some better Internet coverage here at the house I figure I’ll share. I’ll try to keep it updated as I go.
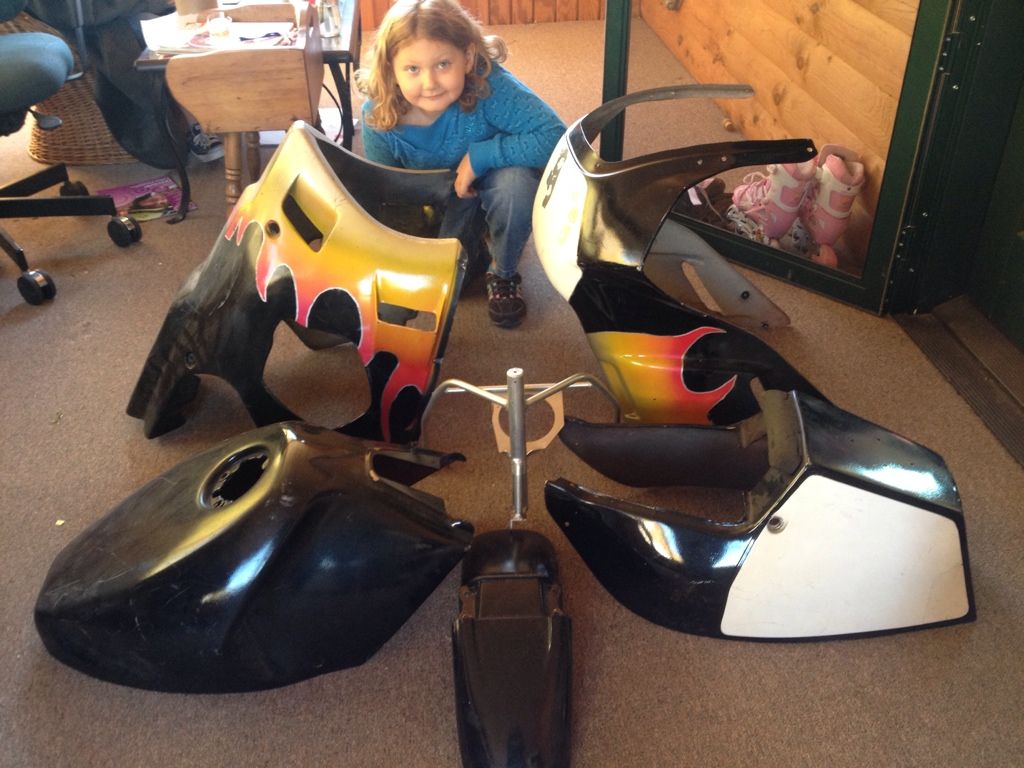
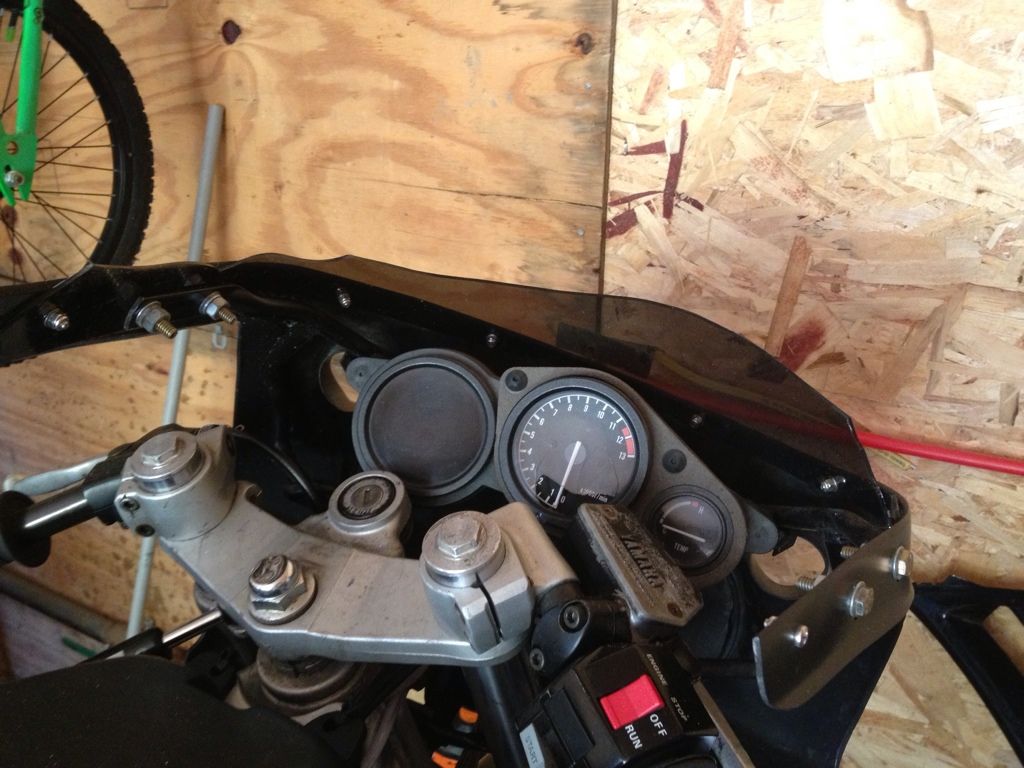
Here is the basic “I want to be John Crossley” starter kit. Lots of sanding needed… Maybe my spokesmodel will help…
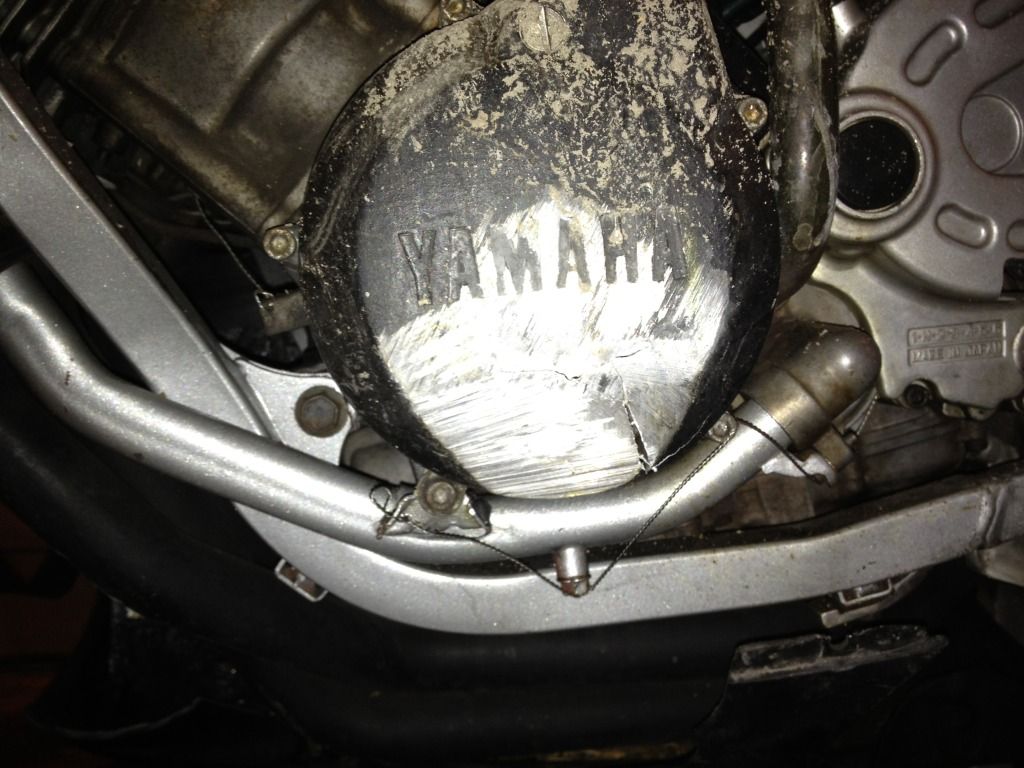
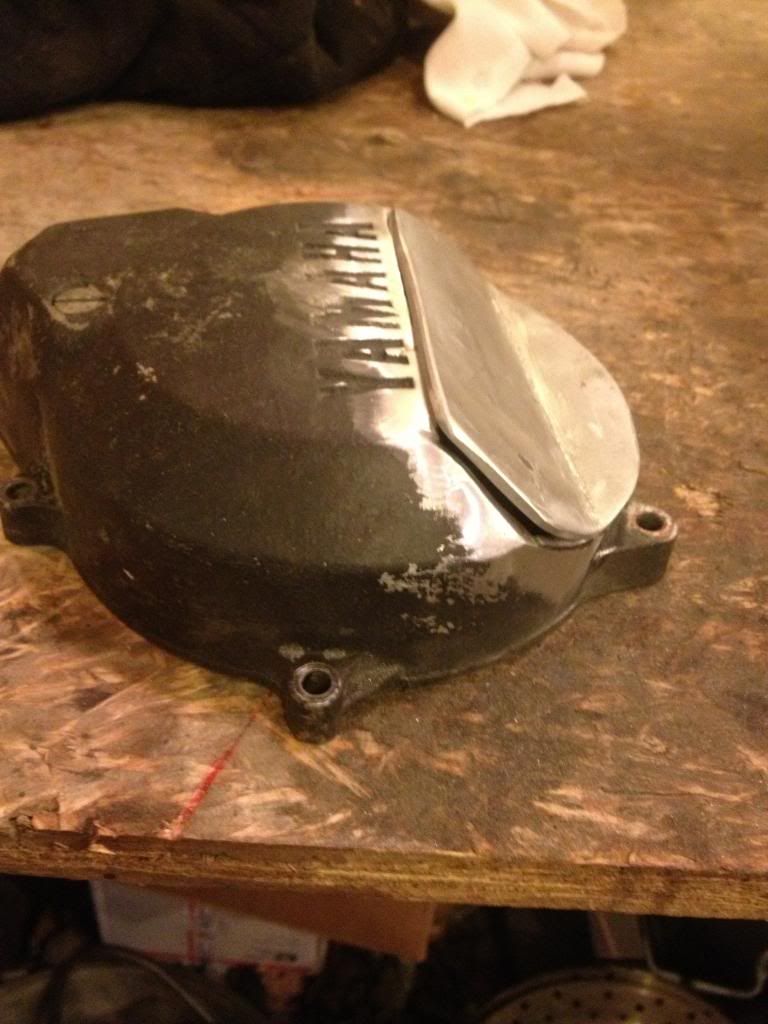
Never use your case cover as a knee puck. The scratches going in the direction of travel weren’t bad, the vertical ones did some damage though.
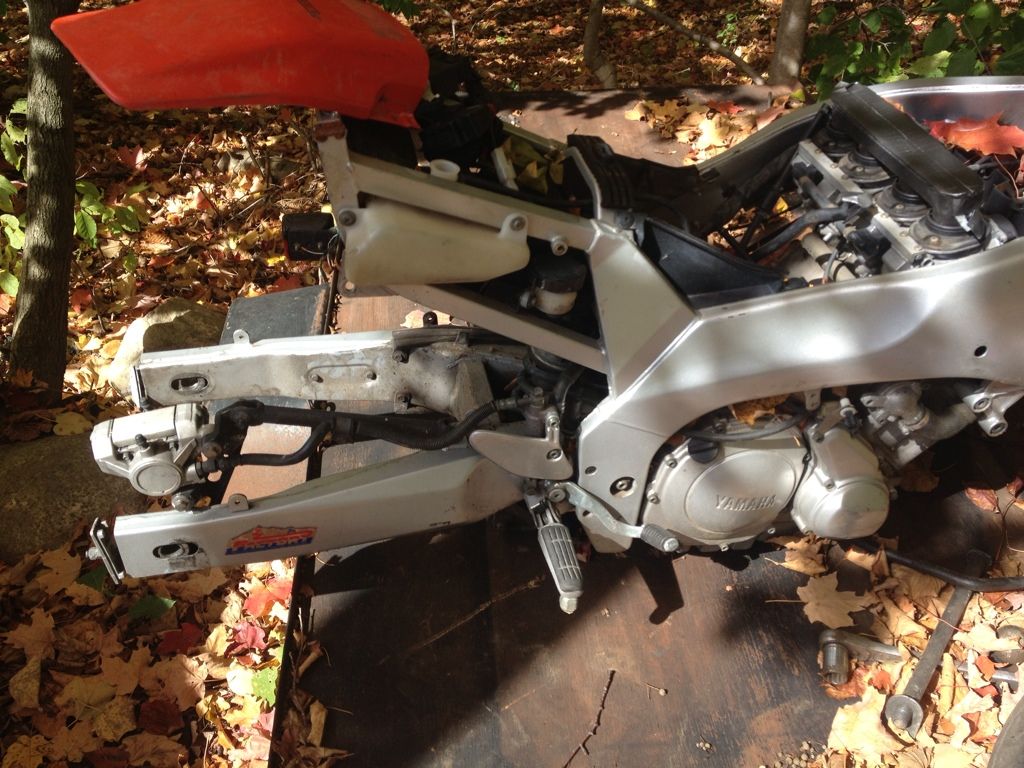
So, tops on the list is a new YZF rear end, so here’s part 2 of my John Crossley starter kit:
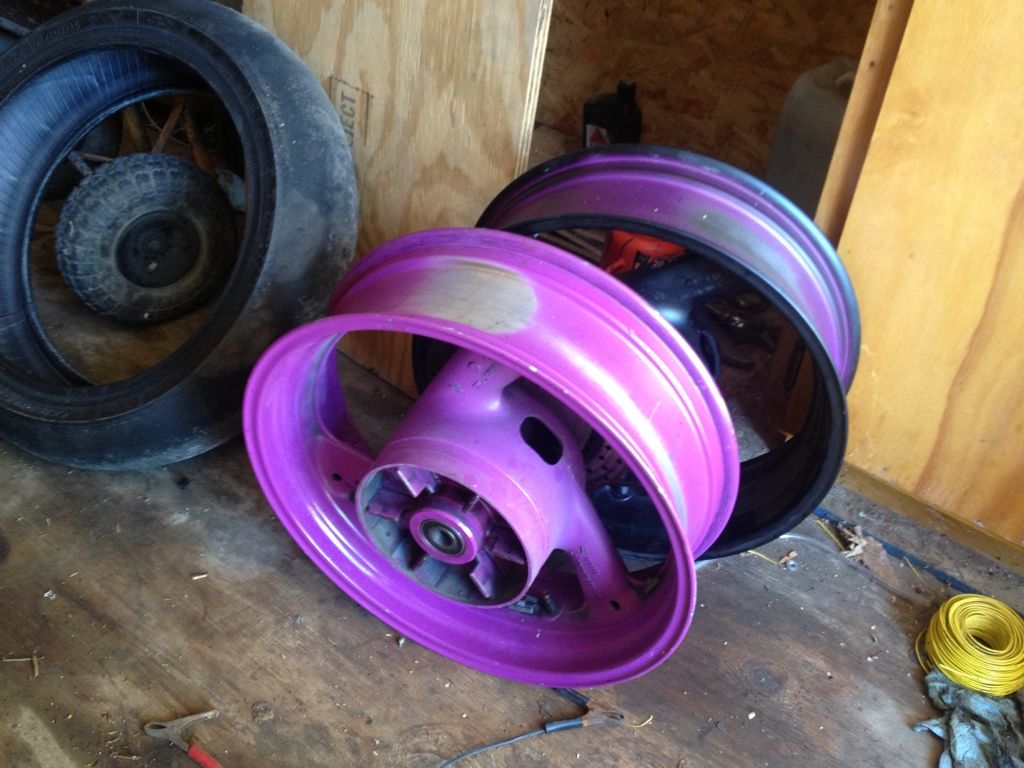
No, the wheels aren’t staying purple no matter what the spokesmodels say. (Racing’s not just fun for Dad in case anyone’s wondering…

So here’s where I am now, the shock is heading off to WP for rebuild and adding a 1/4" ride height, and the swing arm is getting fabbed and braced. Going with an old-school epoxy//long strand carbon Kevlar skunk-works army of darkness method… Stay tuned…
Ashton, the best part wasn’t actually captured in pictures. When I came by you, you were actually straightening up the hay bales behind you. So polite!
Bob
I’ll do everything I can to keep you guys safe. Heck, I’ll even try to stop you with my shoulder  j/k
j/k
I still think you somehow teleported into that corner, I swear you weren’t there when I entered it…  There is however nothing like receiving a stern talking-to from the track marshal… in French. Oddly though, I understood exactly what he was saying!
  :mrgreen:
Got some time today so I figured I’d tackle the swingarm mod. First up the donor '95 YZF600 swinger.
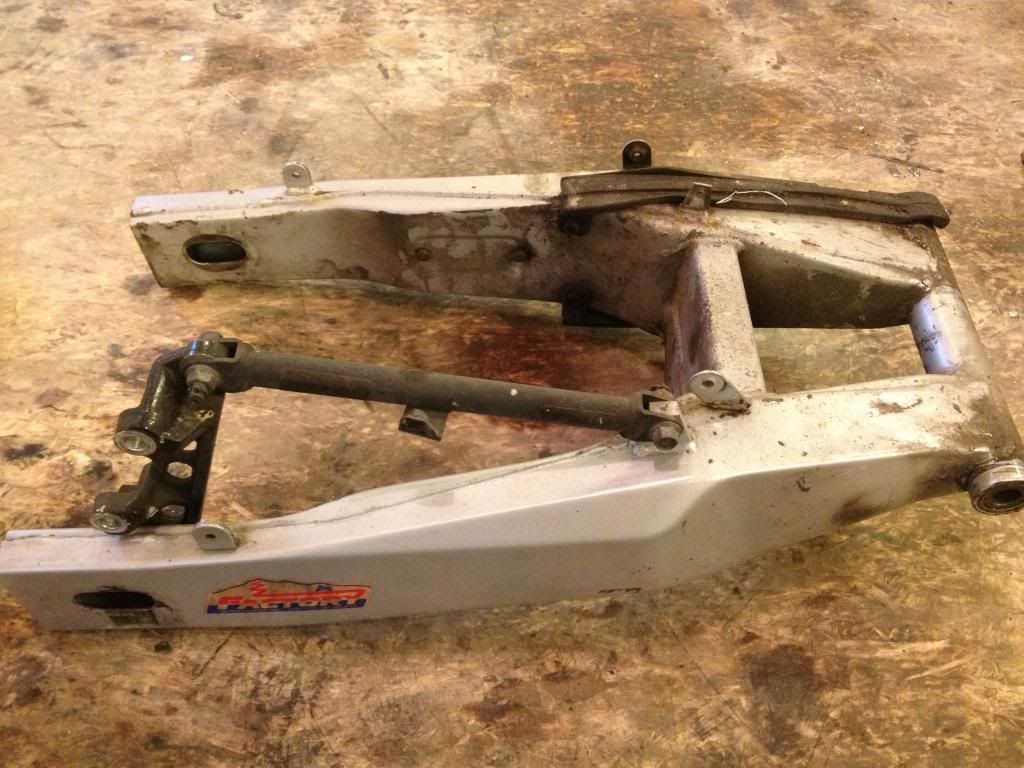
Remove and keep the chain guard, then get rid of all the “safety & cleanliness” tabs.

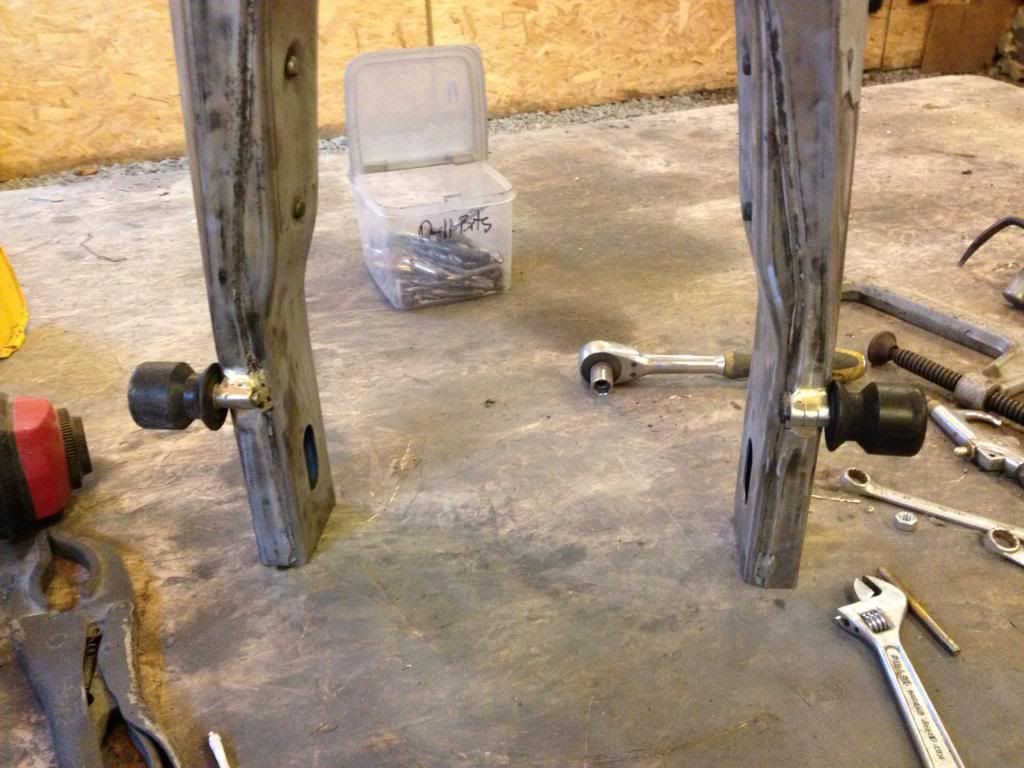
Add the nuts to allow use of stand spool//spiders.
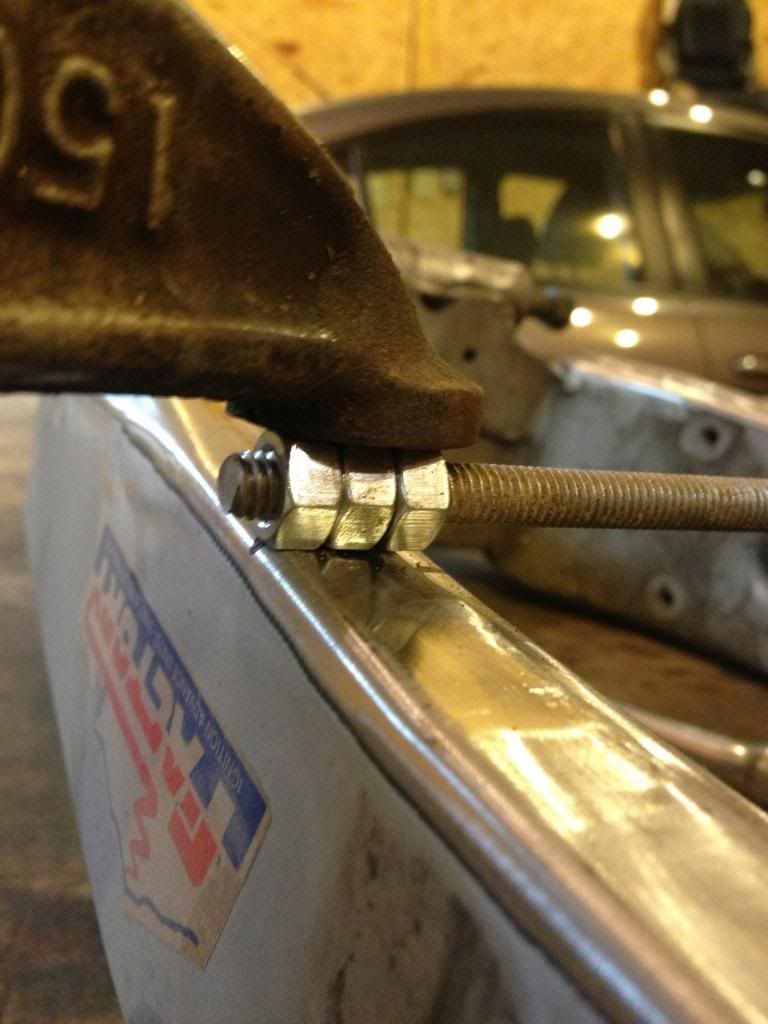
Ta-Da!
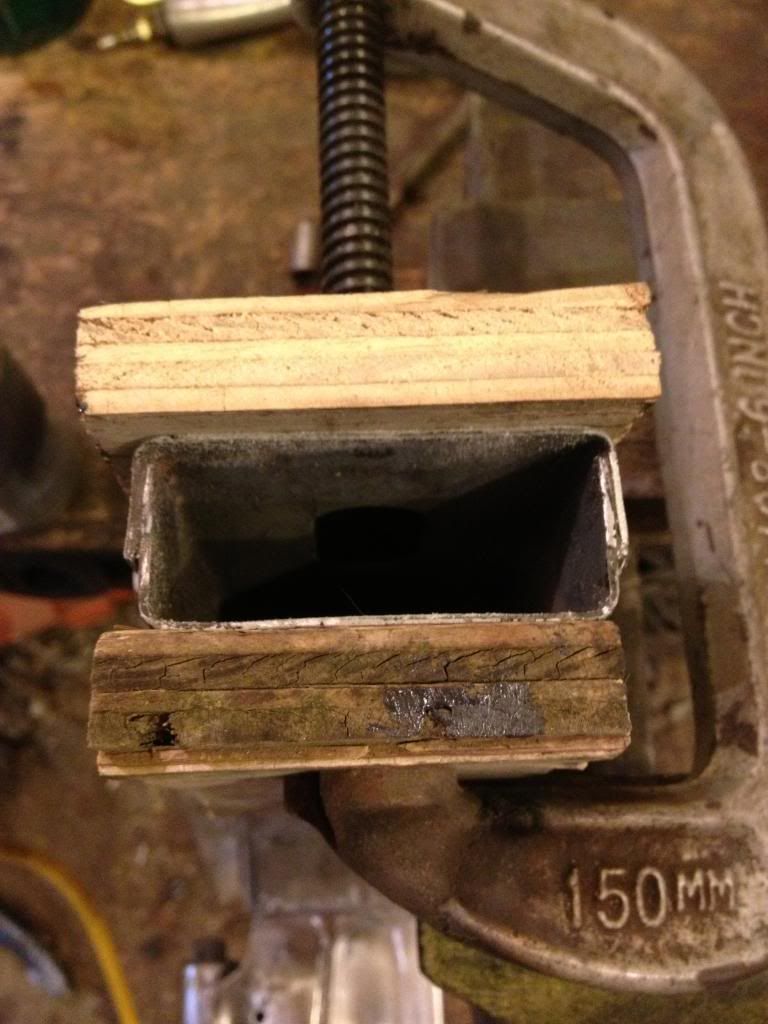
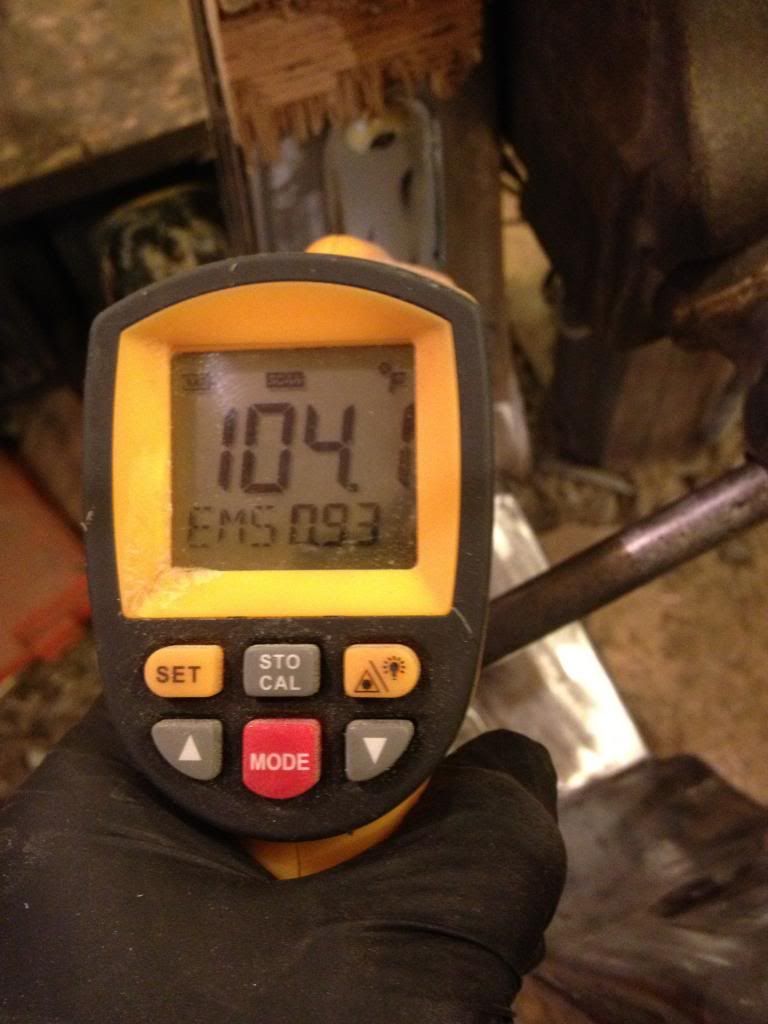
Now for the Skunk-works “Army-of-Darkness style” interior fiber and expanding foam bracing method. I thought it was a neat idea… You pour the soup and wetted long-strand fibers down inside and seal it off. The expansive properties of foam does the rest. What surprised me was the heat it generated!
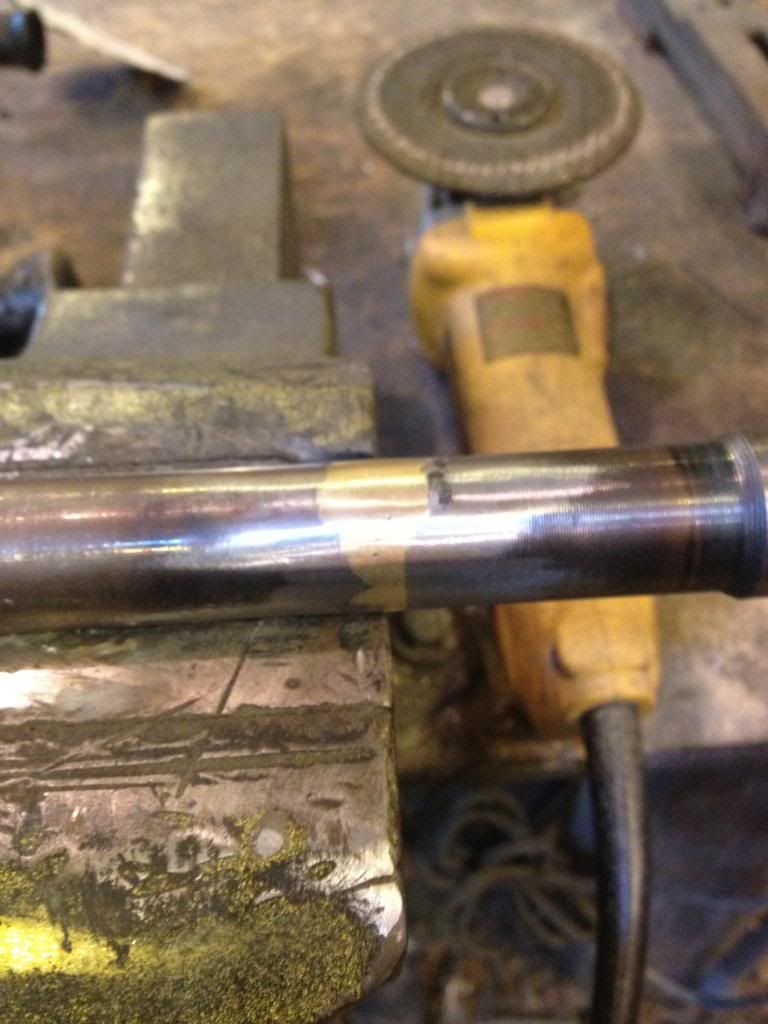
Cut down the pivot tube and bushing to just under 8 & 7/8 inches (sand to fit), order new bearings and there you go! Instant “Crossley” YZF rear-end conversion, all that’s left is to have the drive hub turned-down so the sprockets line up, that will have to wait till assembly. Thank goodness John’s got all these great ideas!

Easy-Peasey, except when you find out it doesn’t fit… Guess my super-light Flea-Bay rearsets needed a little more lightening anyway. 
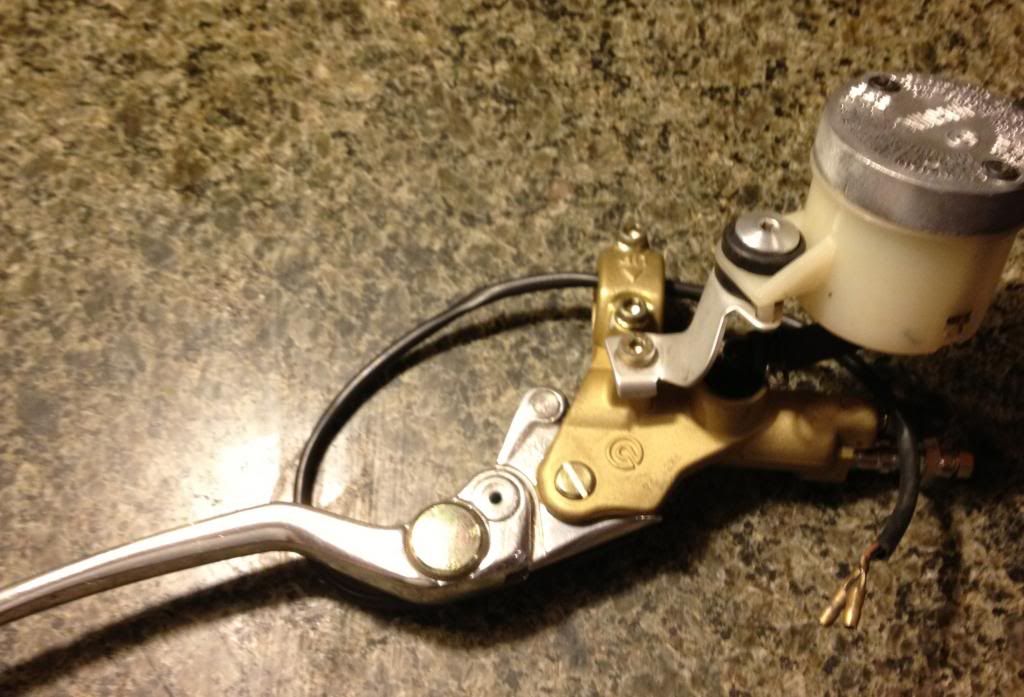
Next Up, install my NOS Brembo master cylinder, with Motorcraft HD brake fluid. Turns out it does have the highest boiling point… Score one more for Croz’s never-ending racing wisdom, the man should write a book! Good-Bye funky braking problems!
That’s it for this installment, now to weasel just a little time before Christmas for sanding fairings, man I hate that part of the job…
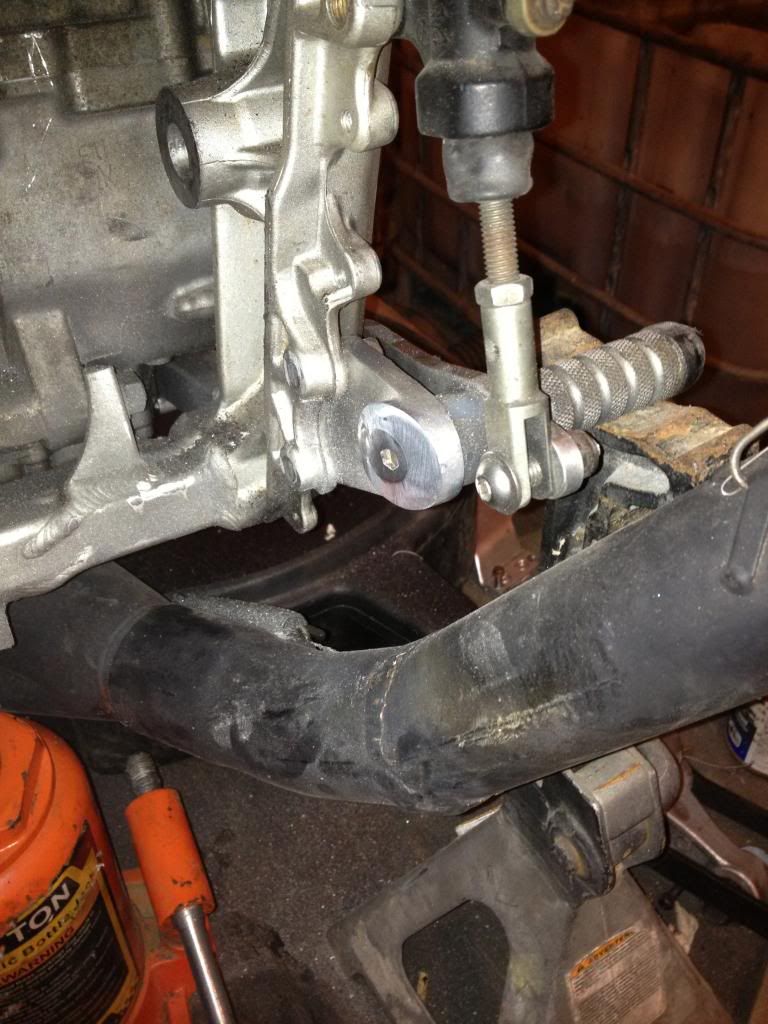
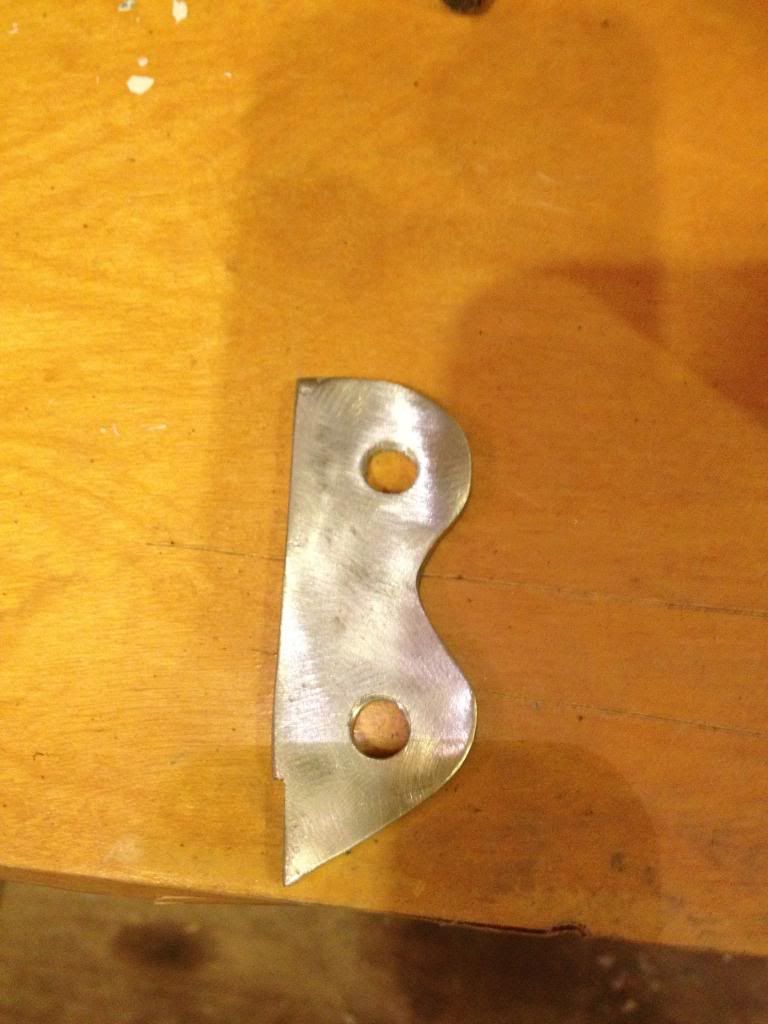
So, even after tapering the rear of the foot pegs, there just wasn’t enough clearance between the swinger and the rearsets to make me comfortable, so I made these 1/8" (thats 3.175mm for Mr. Hoffarth…) thick spacers to move the pegs out a bit. The YZF swinger is nearly twice as thick as the FZR swinger was, I suspect that the OE brackets would work fine, if your using them, as they are thinner toward the rear.
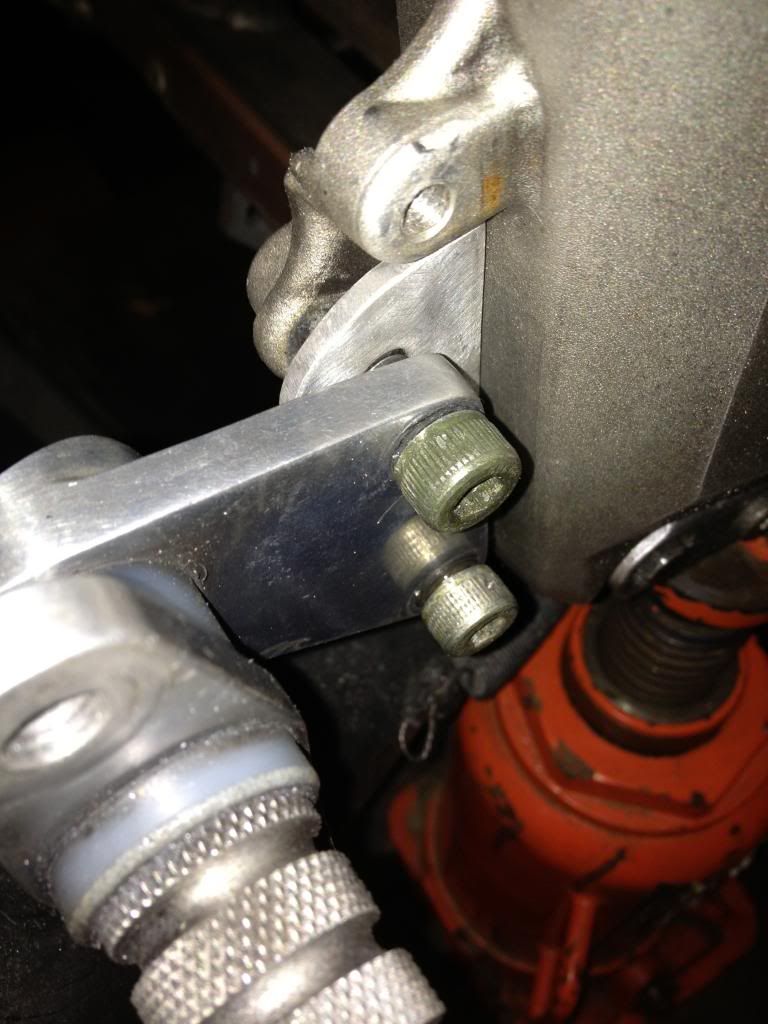
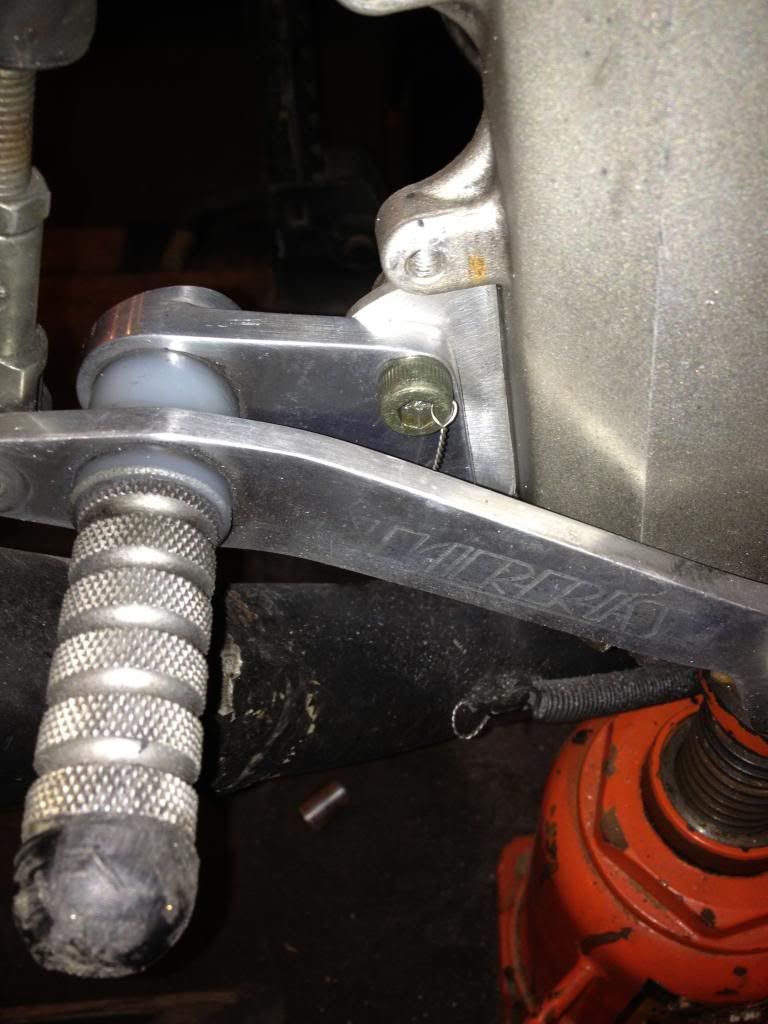
Sandwich it together, lock wire of course, and the rearsets fit fine.
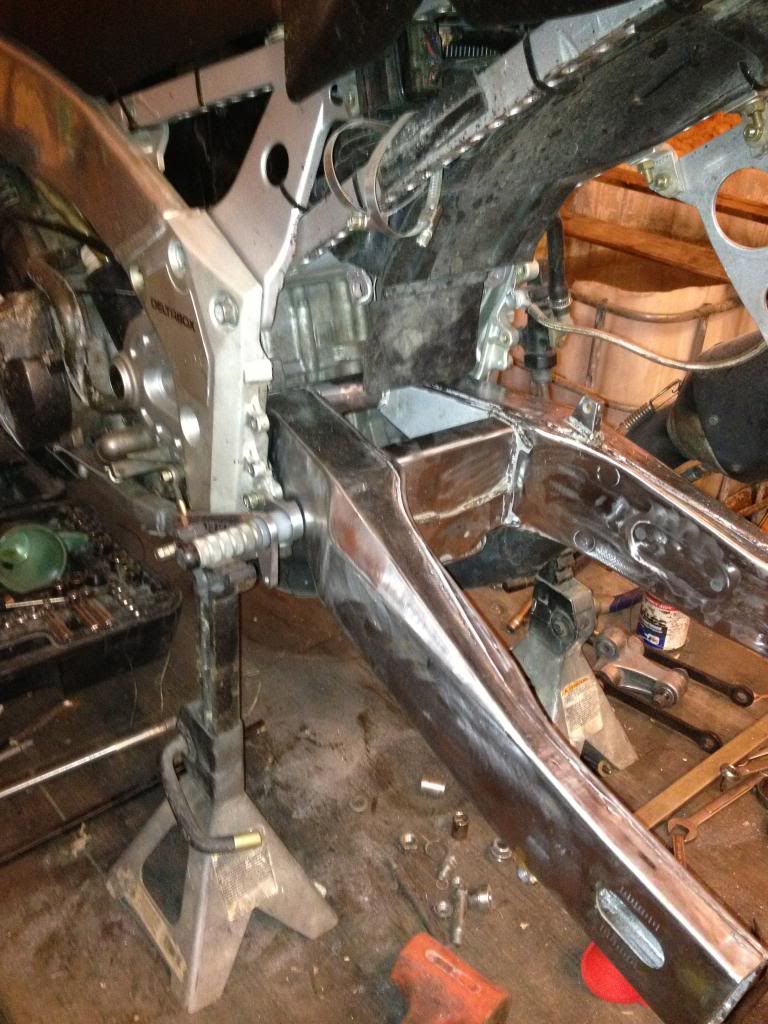
Now all I need is to get my refurbished shock back from Works and I can finish the fab work for the YZF rearend conversion. I have no clue if it was stock or not, but the parts bike I’m getting all these parts from had a Brembo rear MC, I think I’ll upgrade the rear MC as well. That will let me put off the bodywork sanding for a little longer 
A couple more edits… Here’s where to cut your bushing, theres not enough “extra length” to the bearing surface to shorten it enough to accommodate the thrust washer and bearing cap.
You will also have to “notch” the bearing cap to clear the welds (smoothing the welds first helps).
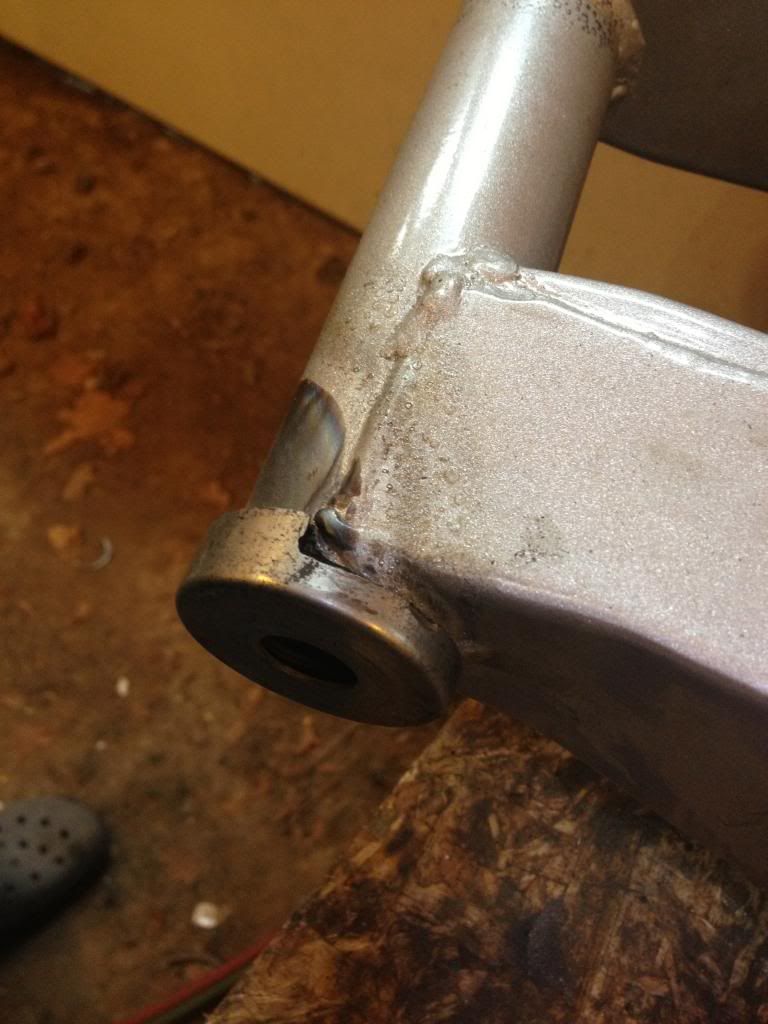
Lastly, to get the bearings to slide far enough into the tube, you will have to get in there with a small grinding disk to grind down the bearing stop and make it deep enough to slide the bearing down flush to the tube surface. sound more complex than it is, its honestly about 15 minutes per side. It was helpful to take one of the now many ruined swingarm bearings and sand it down so it slides in and out of the tube by hand. That way you can gauge your progress easily while you grind down the interior of the tube. Back to painting. (again)
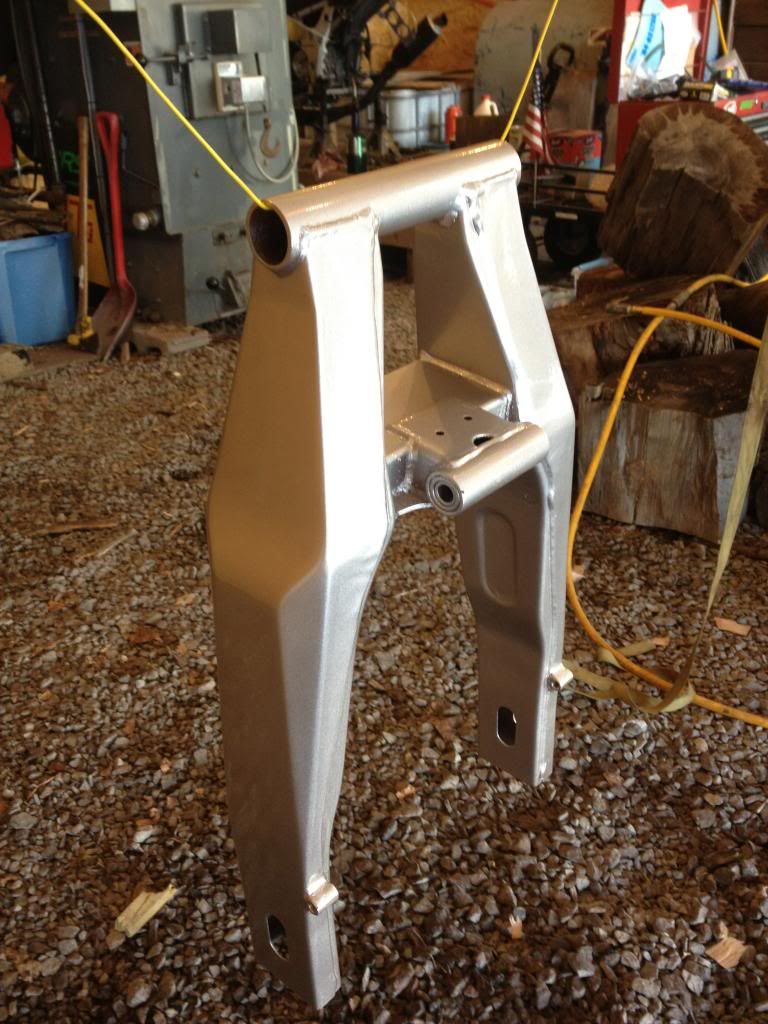
The cool thing about this mod for us Fizzer guys (or anyone considering racing one) is it gives you an easy conversion to a full 5" X 17" rear wheel. The mod is exactly the same for both the 400 & 600, and if your not already aware, Bridgestone has discontinued the 18" slick (they were the last company providing a full race compound 18" rear), so here’s an avenue to modern rubber for not a ton of dough.
So, now on the second time around, things fit, and are looking good…
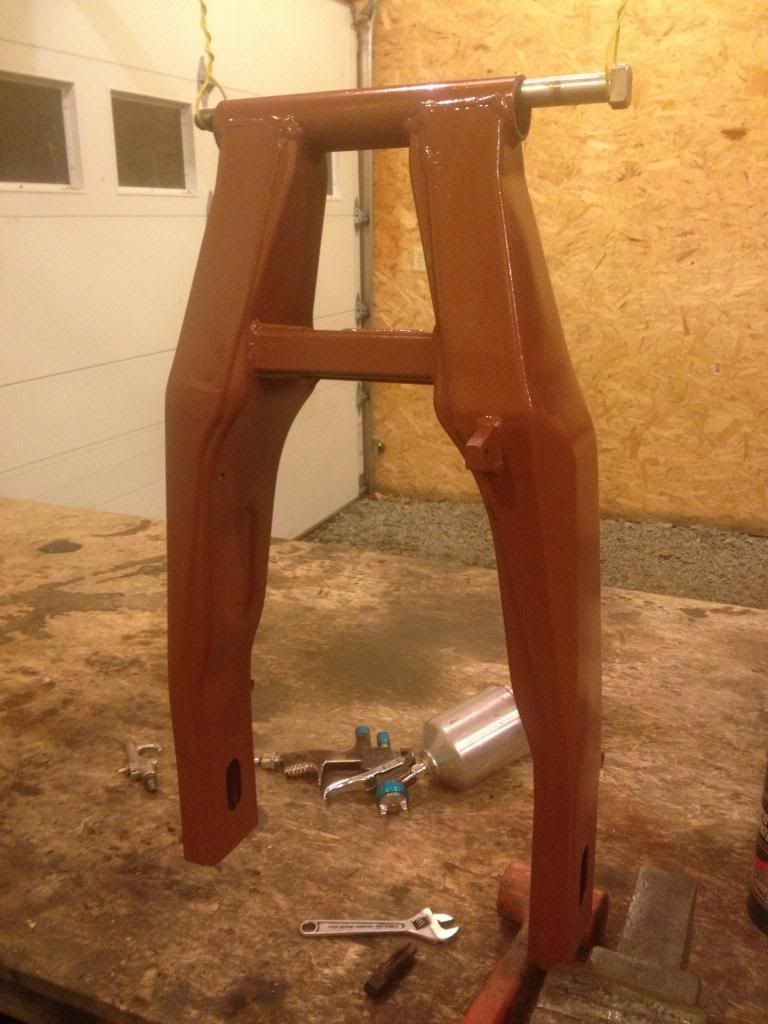
Tried Lacquer clear coat, sure sprays nice.
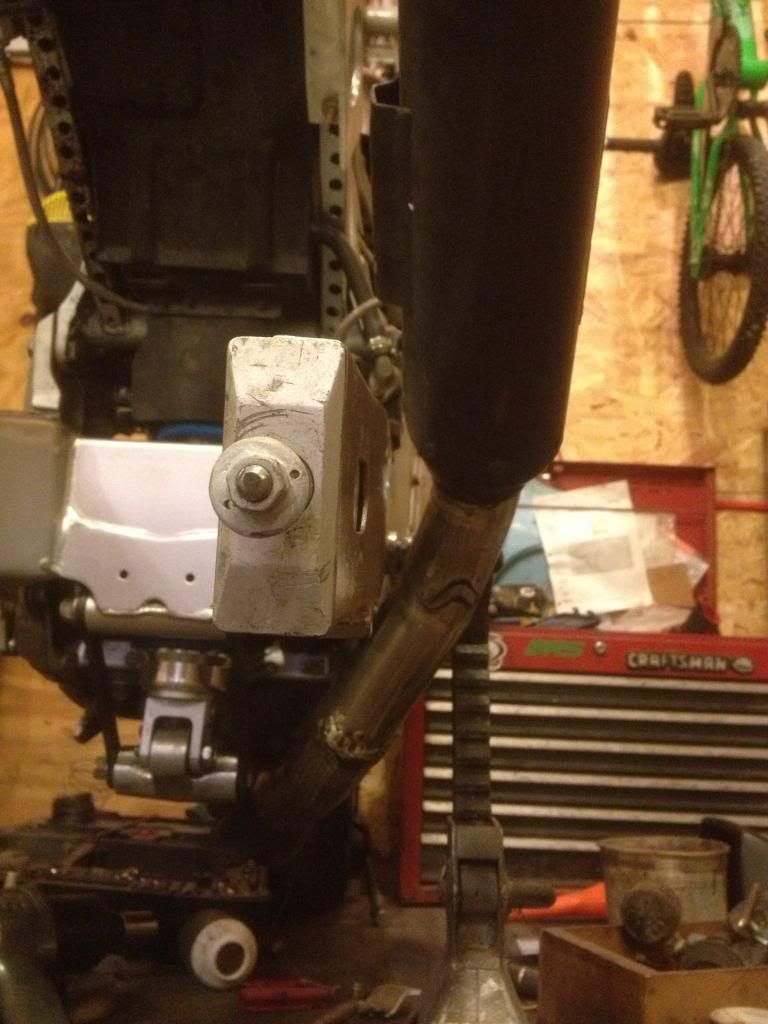
In an effort to gain some ground clearance, here’s my simple solution, there’s just a disk of a flywheel in there anyway.
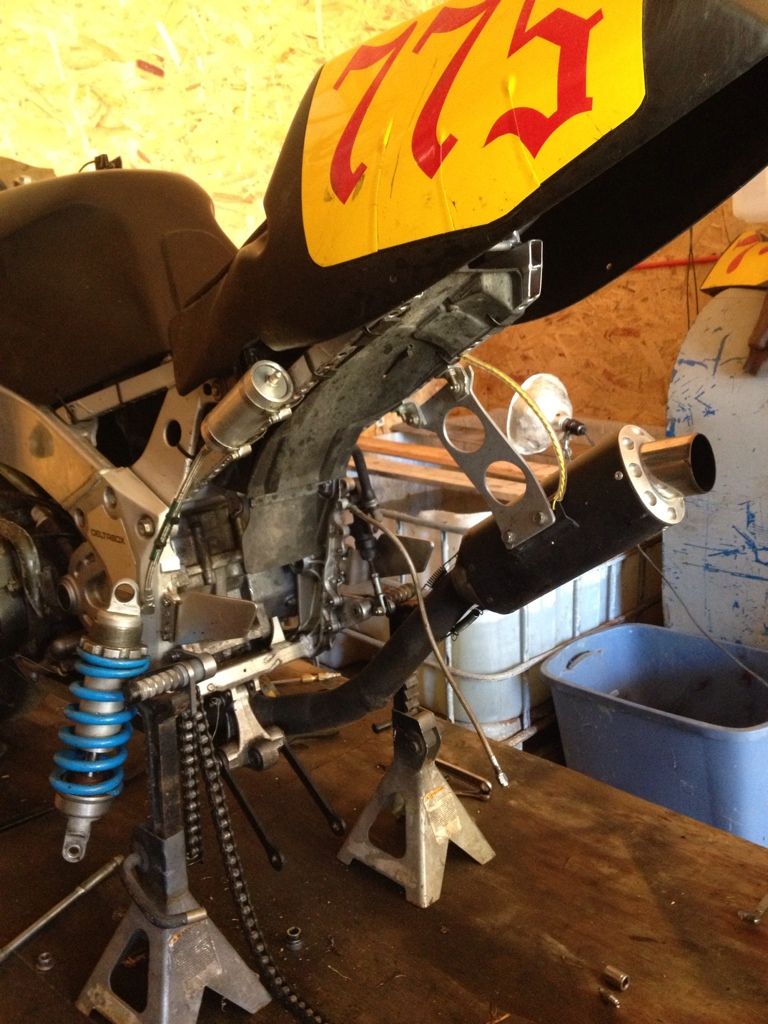
My Fizzer has the full Vance & Hines exhaust, but now that the swing arm is an inch wider on each side, had to do a little “custom” pipe bending.
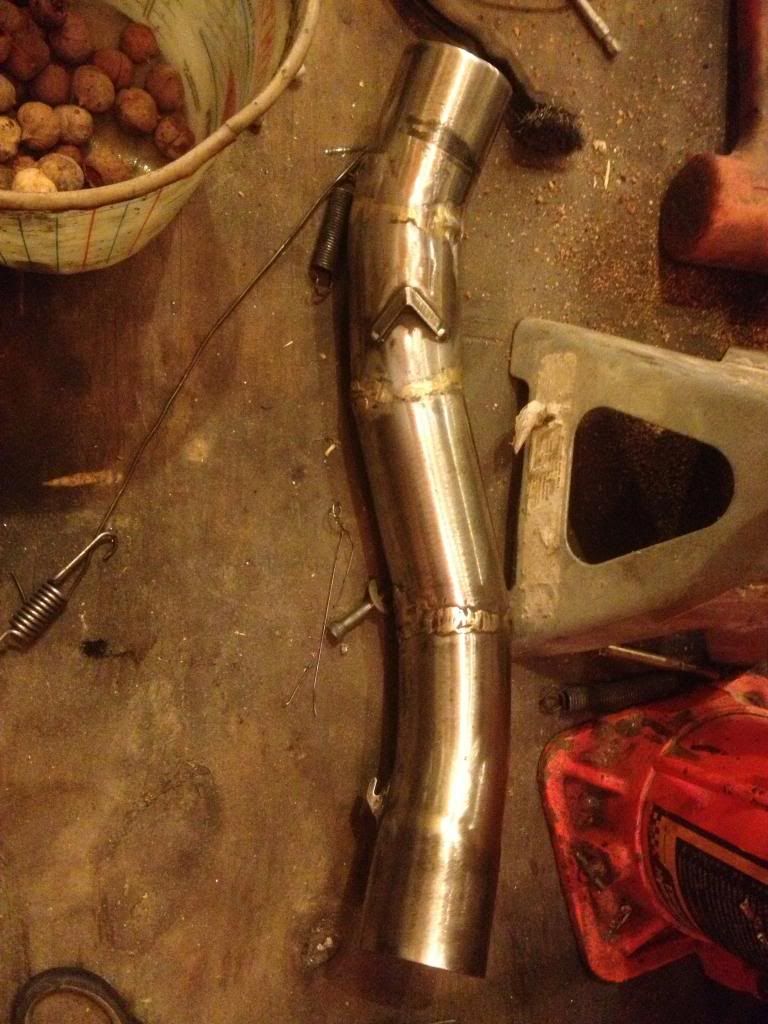
PS, apparently there was a lack of storage space in the woods, look what I found in the collector pipe when I took it off. They were packed 1/2 way up the header pipes. Guess I better check the airbox at some point…

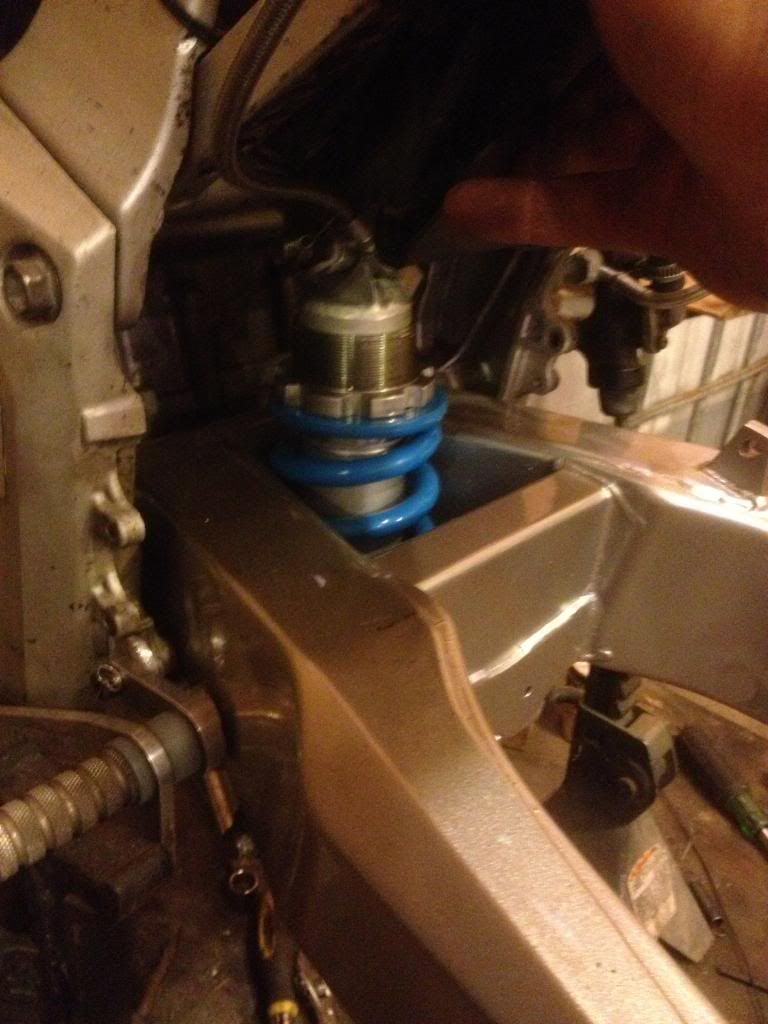
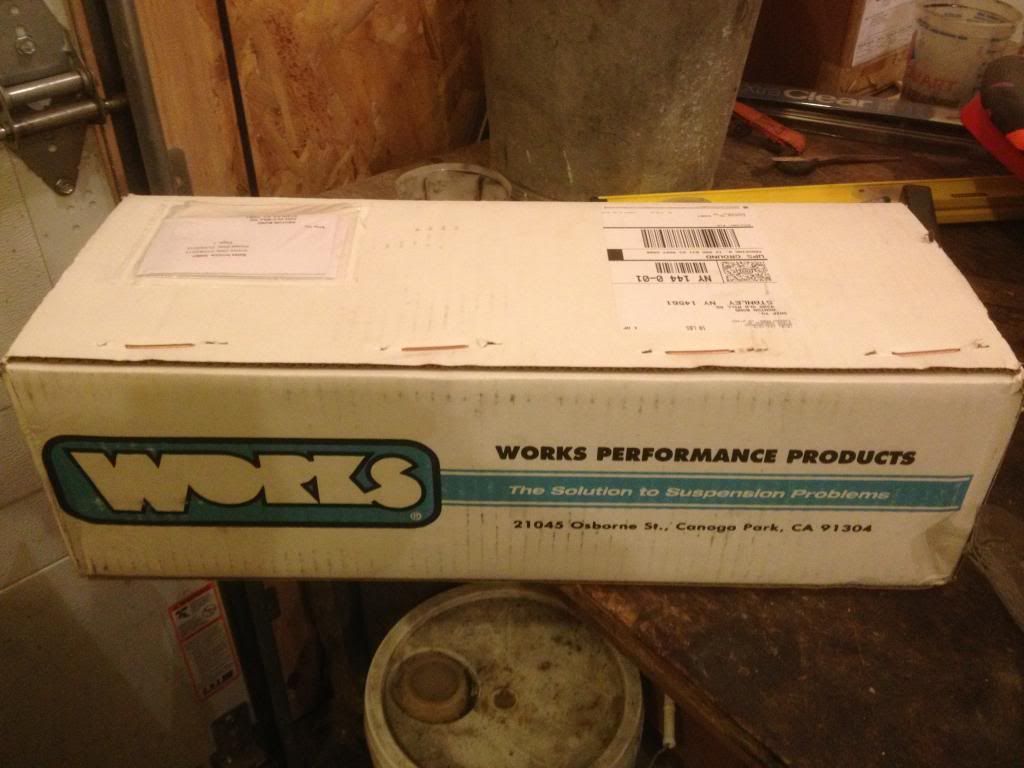
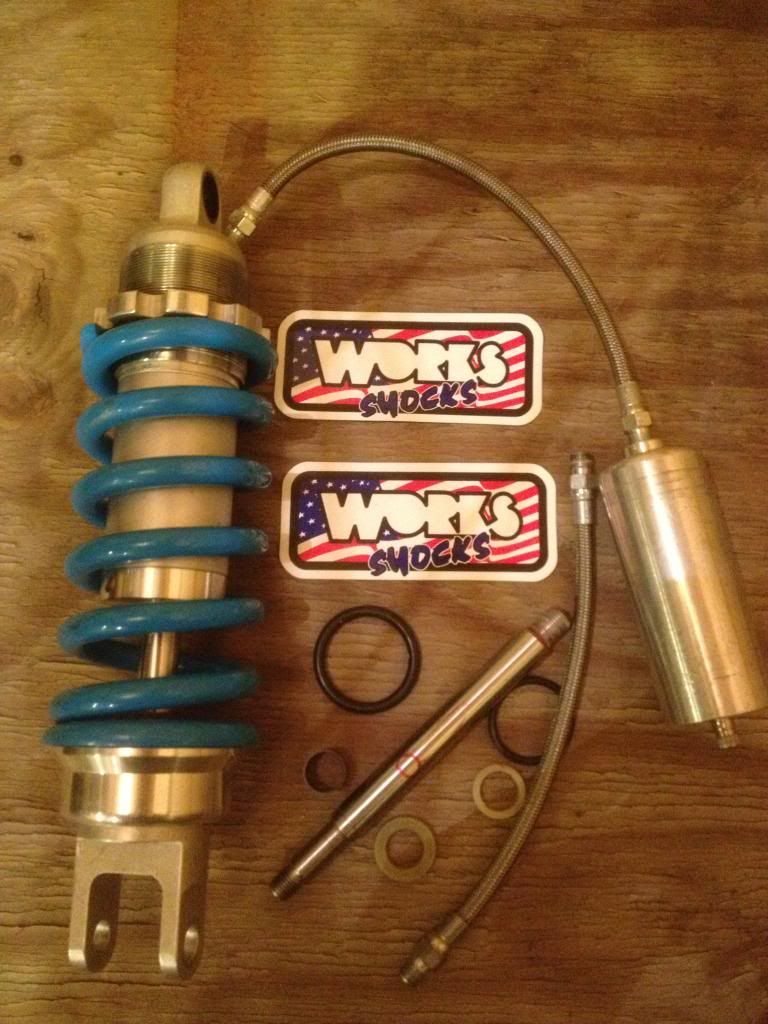
:mrgreen: Look what finally came back from re-build :mrgreen: (Potential club sponsor)
I sent it out, because Works can add some length to the shock with a little machine work, it’s now 1/4" longer than it was which will give me 3/4" additional ride height. (more clearance) As it turns out, there was a small scratch on the shaft as well, so they replaced it at no charge as the shock is only a couple years old. Can’t say enough good things about their company, great to work with, and you get a human every time you call!
Ta-Da! Now to the sprocket carrier and wheels.